We’ve already talked about how React enables developers to use a big part of the codebase to build both web and mobile applications in our other articles. However, we’ve kept the technical part behind the scenes so as not to overload you with information. Normally, it’s not even the main idea after all.
This time, we’ve decided to do the “unveiling” and show you how to make reusing possible in the future. More precisely, we’ll talk about setting up the codebase for potential reusing with minimum effort.
{ rel="nofollow" target="_blank" .default-md}*)](https://cdn.sanity.io/images/ordgikwe/production/d67acea76317a84262d3186df2ea6084902357fa-870x550.jpg?w=870&h=550&auto=format)
If you're looking for a guide on how to reuse the same code for Web & Mobile Development - welcome! (image by MobileAppDaily)
Such an approach really helps reduce the frequency of having to duplicate the code in case we need to reuse some components between app’s clients. Additionally, it gives us multiple new opportunities, such as a full reuse of a codebase to create a “preview”.
We’re going to have 7 key steps to set up a project with a reusable codebase.
# 1: Project Initializing
To begin with, let’s make up our root app.
The flag y is used to deal with confirmations and the flag p will turn value private into value true.
Our next step is creating Web & Mobile Applications within the project. For that matter, we’re going to use create-react-app and react-native init with the typescript template.
Make sure to delete .git, node_modules directories, and yarn.lock files from our apps’ directories. We need to do that since CRA and react-native init create them by default. However, for us, these would be the parts of the root project. So, to avoid confusion, it’s better to simply delete them.
After that step is complete, you can move on to creating the “shared” module.
It will be used for storing the general code that we’ll be reusing on both platforms. In case a certain part of the code will be only used in one of the apps, it’s better to put it into a corresponding directory — storing it in the /shared module will only make it more complicated and difficult to maintain.
To be able to reuse one project’s codebase in another one and unify all the necessary modules, we’ll be using Yarn Workspaces.
So, to save the modules we’ve just created, we’re gonna go to the file named package.json (that’s in the document’s core) and do it there.
Then, let’s place React and React-Native dependencies on the upper layer.
In your create-react-app and react-native init versions, versions of React and React-native dependencies can be different. To prevent any issues in that regard, it’s a great idea to save the versions while transferring them to the root project. Now, we can safely move on to step number 2.
# 2: Setting Up the Project
First things first, let’s create the basic tsconfig and extend each nested config to the following modules so as not to set up the Typescript for every single module separately.
Now, let’s start with the extending process:
Now, let’s add some useful scripts into the “/shared/package.json” file.
# 3: Setting Up the App to Work with Yarn Workspaces
The 3rd step is going to be changing the way to all the packages the react-native uses to build the project.
In the /app/android/settings.gradle file change path to the cli-platform-android/native_modules.gradle file:
In the /app/android/build.gradle file change path to react_native/android and /jsc-android/dist directories:
In the /app/android/app/build.gradle file change path to the cli-platform-android/native_modules.gradle file:
In the /app/ios/Podfile file change path to react/native/scripts/react_native_pods and cli-platform-ios/native_modules directories:
Now, let’s change the ways in project.ext.react for "root", "entryFile", and "cliPath":
We also need to change the way to the “index” file of iOS and Android apps.
Our last step here is adding the projectRoot prop in the “metro” configuration object.
# 4: Setting Up the Web App to Work with React Native
So, the first step here would be to enable access to the “/shared/src” directory since initially, Create React App gathers files from the “/web/src” directory. Additionally, we’re going to add an alias for the react-native-web package and some useful plugins for babel.
Firstly, let’s add the necessary dependencies and create the CRA configuration override:
Reloading CRA configuration file:
This configuration isn’t likely to be the same in the future — while improving/changing the apps, you’ll be adding additional new plugins and presets into it. To simplify the development, you might use the metro-react-native-babel-preset preset. However, the preset has quite a lot of excess plugins, which makes the project heavier.
Our team has extensive experience in React native mobile app development services. If you have questions about what we offer, let's talk!
# 5: Launching the Apps
The configuration is finally over, which means that we can launch the apps for the first time. So, to use the files from the “shared” module, we need to assemble the module with the yarn workspace shared build command.
In case you’d like to start the assembling in the “watch” mode, you can use the yarn workspace shared dev command. However, we can simply skip this step for now as there’s nothing in the module yet.
Let’s launch the app with the yarn workspace app start command in a separate console screen:

Welcome Screen of the React Native app
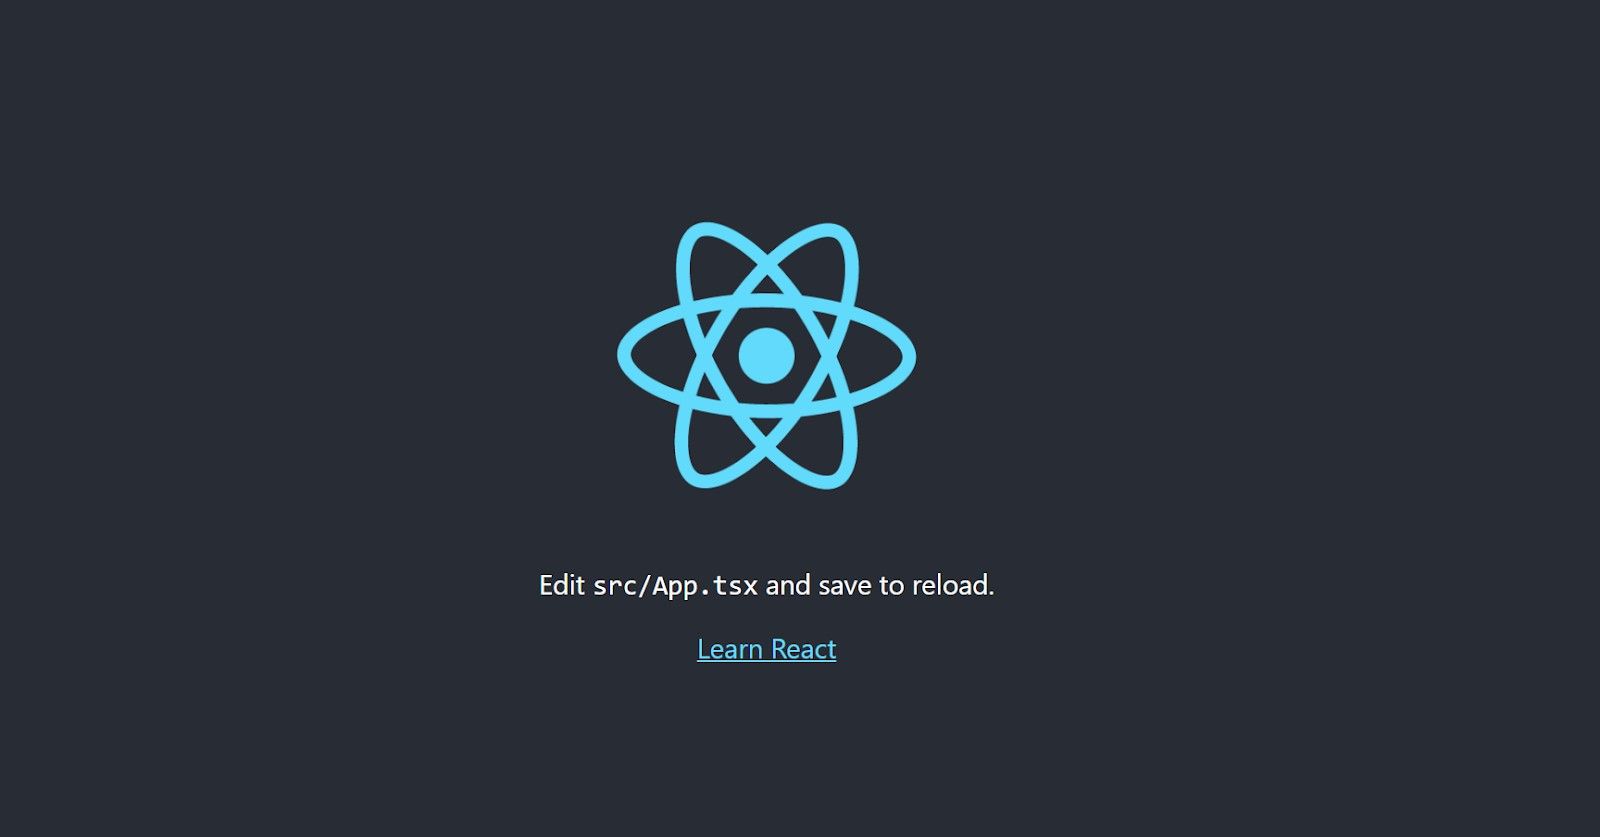
In case everything is functioning well, you should see the standard React Native screen. Now, let’s launch the Web App with the yarn workspace web start command, also in a separate console screen. You should be able to see something like this.

Welcome Screen of the Web App
# 6: Initializing Version Control System (VCS
It’s time to commit the code. It’s important to keep in mind that we’ve recently removed the .git directories for both app and web workspaces. Now, let’s create them again in the root project.
git init
As the following step, we create the .gitignore file:
Last but not least, we add the commit:
# 7: Developing the App
To test out how the reusing works, why don’t we create an app that reuses the same component for both Mobile and Web products. Let’s assume we need to build an ID card for a certain employee.
In our case, it’s going to contain their name and their ID itself. The code component that’s going to contain this information, we’ll call “Profile”. This component is the one we’ll be reusing for both parts of the apps, meaning that it needs to be stored in the /shared workspace:
For the mobile app, the component is going to take data from a mock. Let’s create an object with this data in the app/App.tsx component and change the standard “welcome” screen of the react-native to the “Profile” component we just created.
Here’s what you should be able to see. In case you have other Profile props, you’ll have what you’ve typed in, of course. However, the props need to be of the same format — their value can differ.

How the Profile component is displayed in the app
Next, we’re going to reuse this component in the Web App. Here, it’ll receive data from inputs. For that matter, we need to create the “Main” component with 2 inputs. Both of them need to have a controlled state so we can pass such a state to the “Profile” component as well.
This time, we’ll change the “welcome” screen that the CRA created to the “Main” component above.
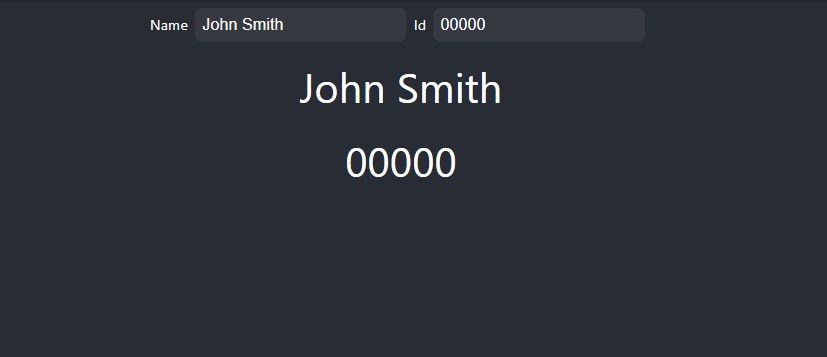
As an output, we have the Web App that is able to update the preview’s state of the app with the data from inputs simultaneously. Here’s what we have:

The “Profile” component in the Web App
💡 Takeaways
To sum up, we’d like to say that reusing the codebase isn’t only possible but also reasonable. It allows you to make the code itself shorter, which reduces the time & resources needed to maintain it. Plus, without such an opportunity, developers would have to type the same code twice and make sure that it’s 100% similar in both, web and app, app versions.
In this article, we’ve decided to use only one component, but react-native-web allows reusing almost every single react-native apps for Web versions.
We’ve used such an approach for our Yangol project.
The goal was to display the most convenient and complete admin panel preview. Here’s what we had as the result:
{ rel="nofollow" target="_blank" .default-md}*)](https://cdn.sanity.io/images/ordgikwe/production/be15948277e9b5231a5a83c2310cebe352373c2e-1600x889.jpg?w=1600&h=889&auto=format)
The full admin panel preview in Yangol (Shots from Yangol)
The full code of the project is available in this github project.


![Stormotion client Pietro Saccomani, Founder from [object Object]](/static/40e913b6c17071a400d1a1c693a17319/b0e74/pietro.png)


